Learn to Use Passkeys
Learn how to use recently released passkeys on supported and unsupported devices.
Recently, Apple released iOS 16 giving us the ability to use passkeys, which were announced over a year ago in WWDC21. In this blog, you will learn how to use passkeys.
Why Not Just Use Passwords?
Passkeys are Apple's answer to the common email and password login. I have already covered some of the differences between common authentication methods, but the summary is that Apple passkeys are the best, and passwords are one of the worst. Passwords can be leaked, reused, weak, and phished.
Passkeys are stored on the user's device and will never leave it. This makes it so hackers can't try to steal your password in a process called social engineering. Passkeys take advantage of Touch ID and Face ID to make sure your accounts are secure.
Creating an Account With Passkeys
When a website supports passkeys, it will automatically detect if your device supports passkeys, and will then let you sign up with passkeys. If your device doesn't support passkeys, scroll down to the section called "Using passkeys on Unsupported Devices".
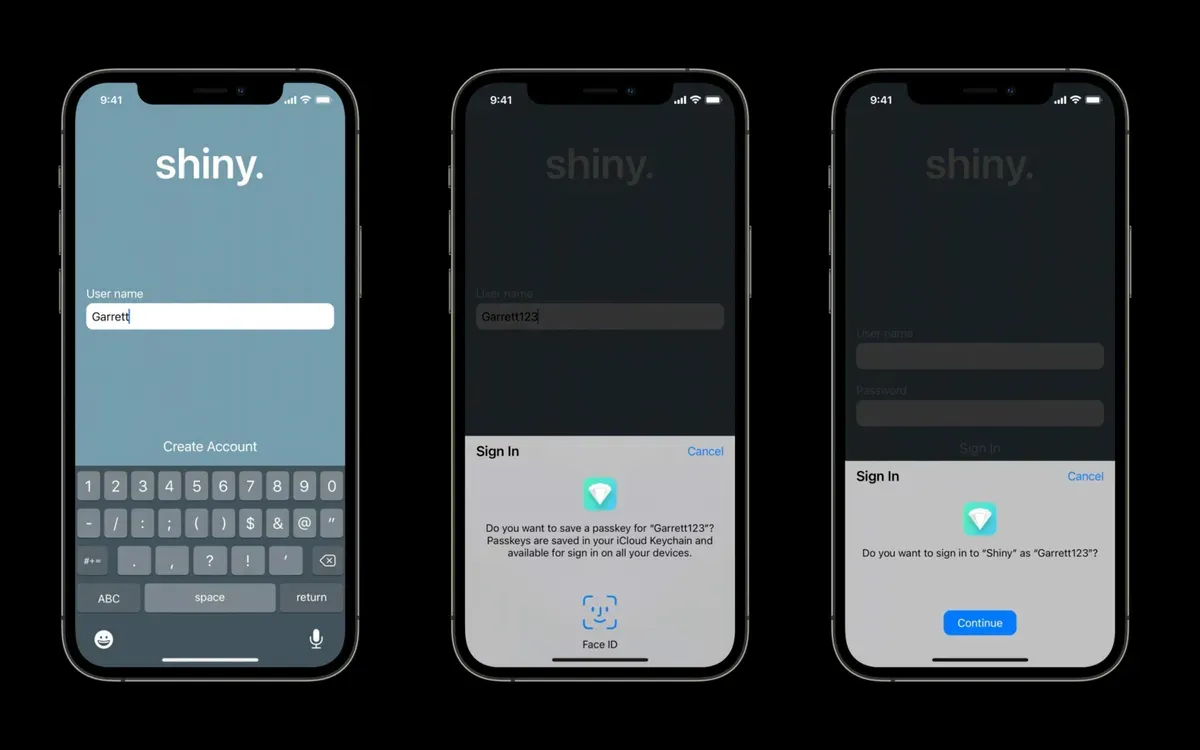
When using passkeys, a website will only need to know your email or username. This can be whatever you want and it will be tied to your passkey on your device.

Then, you can continue and the website will automatically detect if your device supports passkeys. If it does not, head down to the "Using passkeys on Unsupported Devices" section.
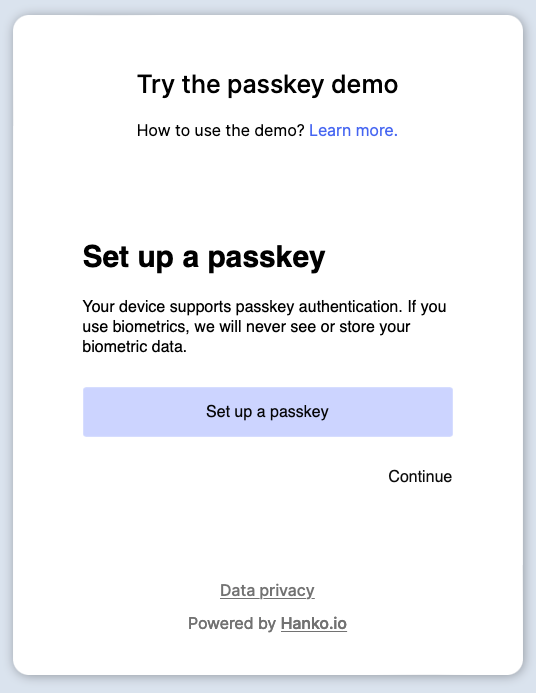
Some websites might automatically try to use passkeys, but if it doesn't, then choose the option to set up a passkey. After, your device will use your biometric such as Touch ID or Face ID to create a new passkey for that site.
And that's it! You have now created an account with passkeys. You get the simplicity of quickly logging in with the security benefits.

Logging In With Passkeys
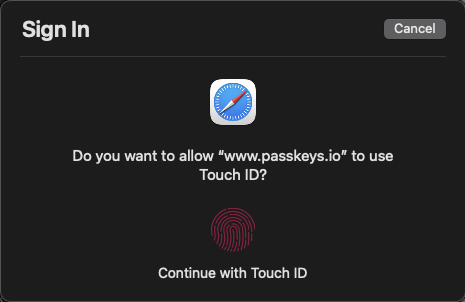
Now that you have an account with passkeys, you can take advantage of the super simple and super fast log-in. All you have to do is press the button to sign in with passkeys.

Then, you can authenticate with your biometric such as Touch ID or Face ID.
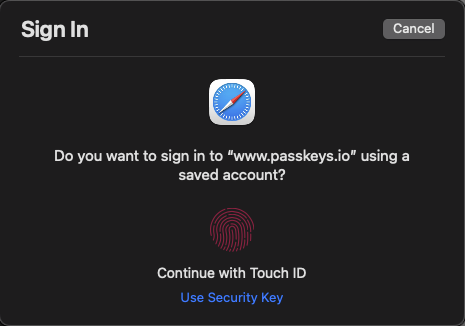
And voila, you are now logged in.
Using Passkeys on Unsupported Devices
Passkeys can also be used to log in on devices that don't natively support passkeys. Keep in mind that not only do Apple devices support passkeys but there is also support on other devices such as Android or Windows.
On browsers that don't support passkeys such as Brave, you will see a pop-up that should like similar to the one below.
You will want to click on the option that lets you scan a QR code. It might say "Use a phone with a QR code" or "Use your iPhone, iPad, or Android with a camera".
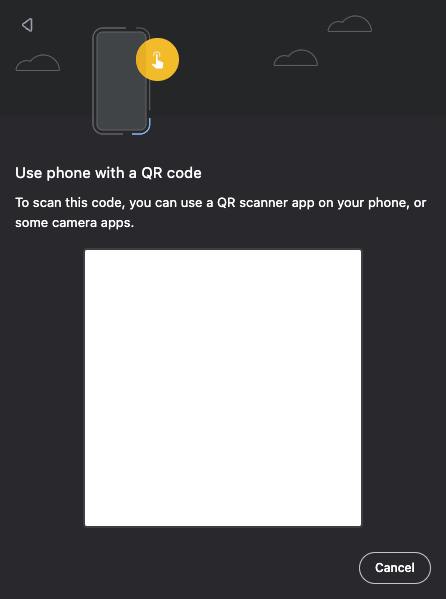
You can then scan the QR code with your device and authentication using Touch ID or Face ID. Then you are logged in!
When using this method, your device with the passkey generates a secure one time token for your unsupported device to use. You will have to follow these steps every time you need to log in on unsupported browsers and devices.
Logging In On a Different Device
If you need to log in on another device than the one used to set up your passkey, you can follow the steps above.
Conclusion
In this blog, we learned how to create a passkey and log in on supported and unsupported devices. Passkeys are the future because they are so quick to use and so much more secure.
If you found this helpful, consider becoming a member.